
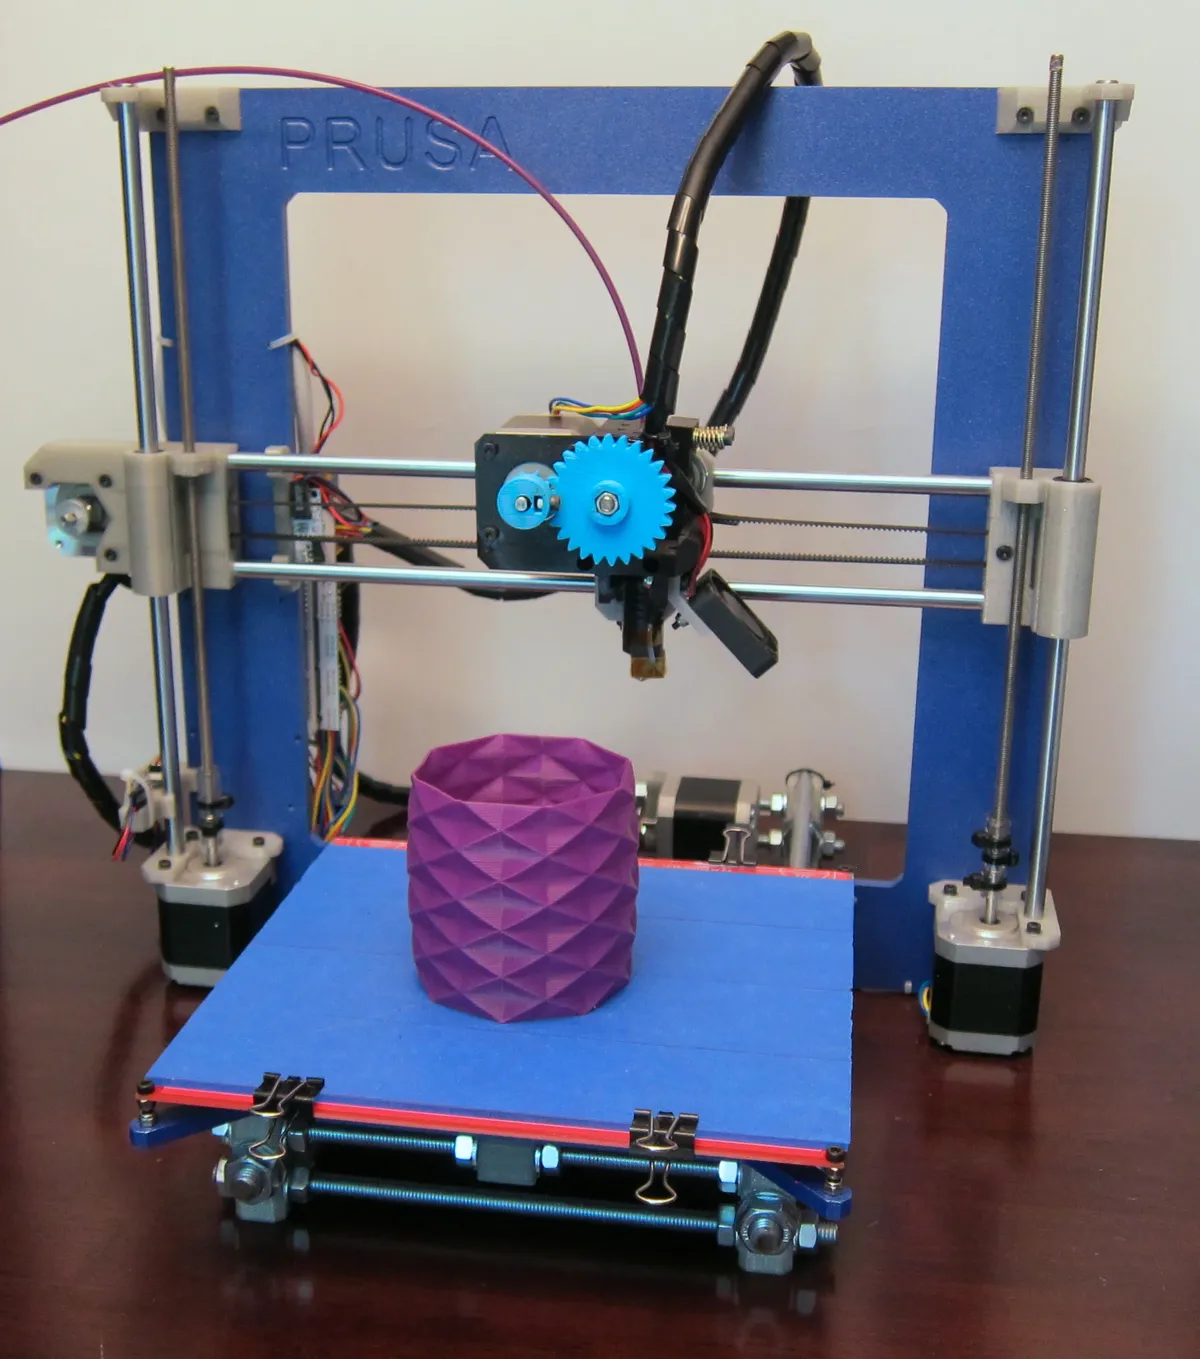
Why Calibration Matters
A well-calibrated 3D printer produces accurate dimensions, clean layer adhesion, and consistent results. Skip calibration and you'll waste filament on failed prints.
Calibration Checklist
- 1⃣ Frame & mechanical tightness
- 2⃣ Bed leveling (tramming)
- 3⃣ Z-offset / first layer height
- 4⃣ E-steps (extruder calibration)
- 5⃣ Flow rate / extrusion multiplier
- 6⃣ Temperature tuning
- 7⃣ Retraction settings
Bed Leveling

The first layer determines print success. Bed must be level and at correct distance from nozzle.
Paper Test Method
- Heat bed to print temperature
- Home all axes, disable steppers
- Move nozzle to corner, slide paper underneath
- Adjust bed screw until paper has slight resistance
- Repeat for all 4 corners + center
- Do 2-3 passes until consistent
Pro Tip
Use a 0.1mm feeler gauge instead of paper for more precision.
E-Steps Calibration
E-steps tells the printer how many motor steps = 1mm of filament. Wrong value = under/over extrusion.
# 1. Mark filament 120mm from extruder entry
# 2. Heat hotend, extrude 100mm:
M83 ; Relative extrusion
G1 E100 F100

# 3. Measure remaining distance to mark
# 4. Calculate new E-steps:
# New E-steps = Current × (100 / Actual)

# 5. Set new value:
M92 E93.5 ; Example value
M500 ; Save to EEPROM
Test Prints
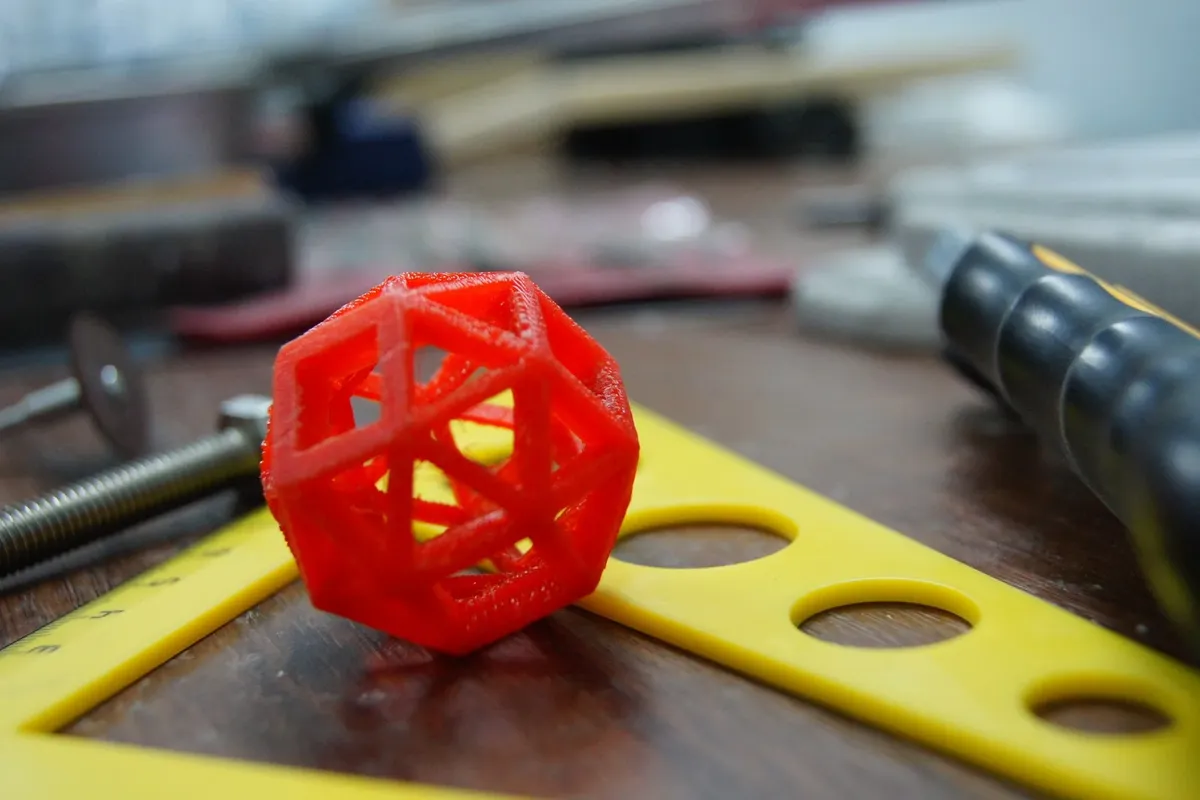
Calibration Cube
20x20x20mm - tests dimensional accuracy
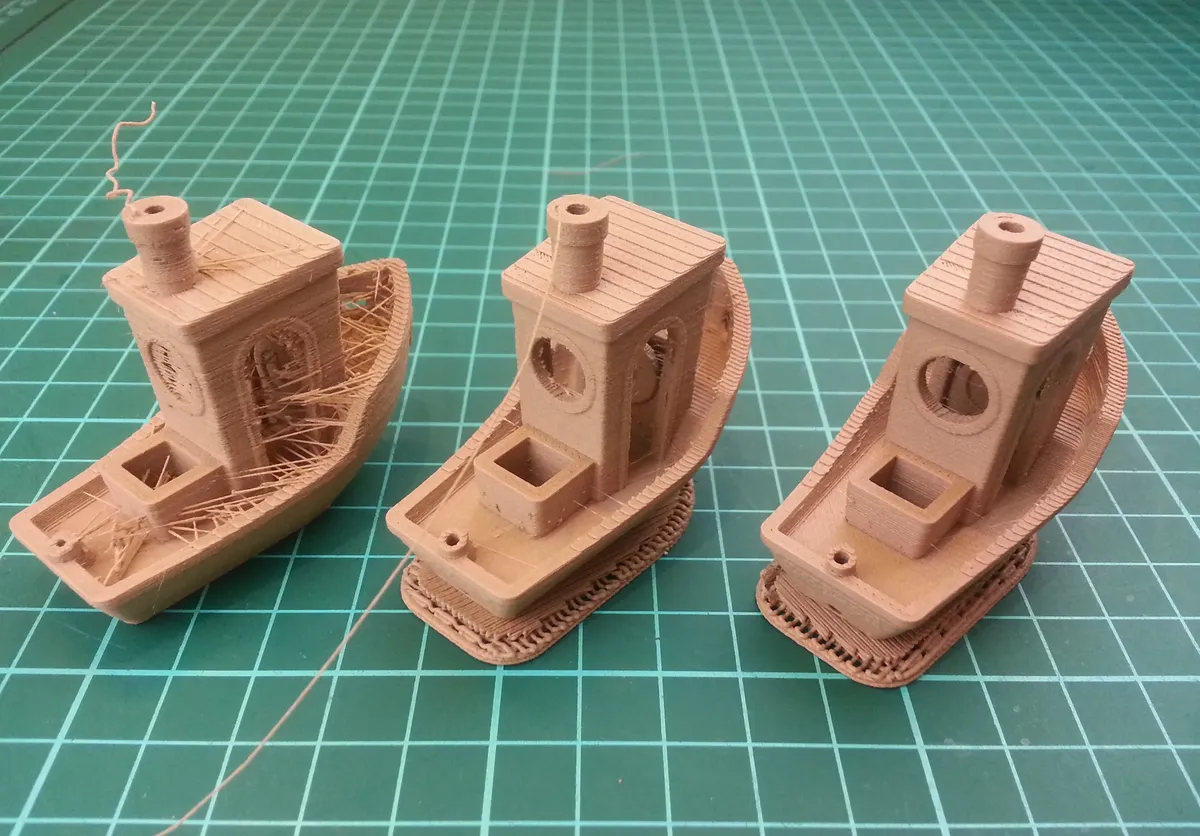
3DBenchy
Tests overhangs, bridging, stringing, details
Temperature Tower
Find optimal temperature for each filament
↩ Retraction Test
Tune retraction to eliminate stringing
Common Issues
| Problem | Likely Cause | Fix |
|---|---|---|
| First layer not sticking | Z too high, bed dirty | Lower Z-offset, clean bed |
| Elephant foot | Z too low, bed too hot | Raise Z, lower bed temp |
| Under-extrusion | Low E-steps, clog | Calibrate E-steps, clean nozzle |
| Stringing | Low retraction | Increase retraction distance/speed |
| Layer separation | Temp too low | Increase hotend temp |
3D Printing Essentials
Browse our 3D printers and filaments.
Compare materials in our 3D Printing Materials Guide.
Frequently Asked Questions
How often should I calibrate my 3D printer?
Bed leveling should be verified weekly if you print frequently. Full calibration (E-steps, flow, temperature) should be checked every 3-6 months or when print quality degrades. Always recalibrate after hardware changes like nozzle, extruder, or hotend replacement. New filament types require temperature and flow rate testing, while the same filament brand typically doesn't need recalibration.
What's the difference between E-steps and flow rate?
E-steps is a hardware calibration that tells your printer how many motor steps equal 1mm of filament movement. It's set once for your specific extruder hardware. Flow rate (extrusion multiplier) is a software percentage adjustment (90-105%) applied per material to account for filament-specific characteristics. Always calibrate E-steps first to 100mm accuracy, then fine-tune flow rate for each material type.
Why does my first layer not stick even after bed leveling?
Common causes include: incorrect Z-offset (nozzle too far from bed), bed temperature too low, dirty build surface (clean with isopropyl alcohol), wrong bed surface for material (PLA on glass needs adhesive, PETG sticks too well to PEI), or first layer printing too fast (slow to 20mm/s). Try reducing Z-offset by -0.05mm increments until lines merge together without gaps.
How do I fix stringing between parts?
Stringing is caused by oozing during travel moves. Solutions in order: 1) Calibrate retraction distance (increase by 0.5-1mm increments), 2) Lower printing temperature by 5°C steps, 3) Increase retraction speed to 40-60mm/s, 4) Enable combing mode to travel within printed areas. For PETG, slightly reduce flow rate (95-98%) as it's particularly prone to stringing.
Do I need to calibrate PID tuning on my printer?
PID tuning isn't mandatory but highly beneficial. Signs you need PID tuning include: temperature fluctuating ±3°C or more, slow heating times, thermal runaway errors, or inconsistent print quality. Run PID autotune with M303 commands when you change hotend hardware, add/remove silicone socks, or move printer to different ambient temperatures. Well-tuned PID maintains ±1-2°C stability.