
What is GRBL?
GRBL (pronounced "gerbil") is an open-source firmware that runs on Arduino boards to control CNC machines. It interprets G-code commands and translates them into precise stepper motor movements.
Why GRBL?
- 🆓 Free and open-source
- Runs on Arduino Uno (cheap!)
- High-performance motion control
- Large community and support
- Works with many G-code senders
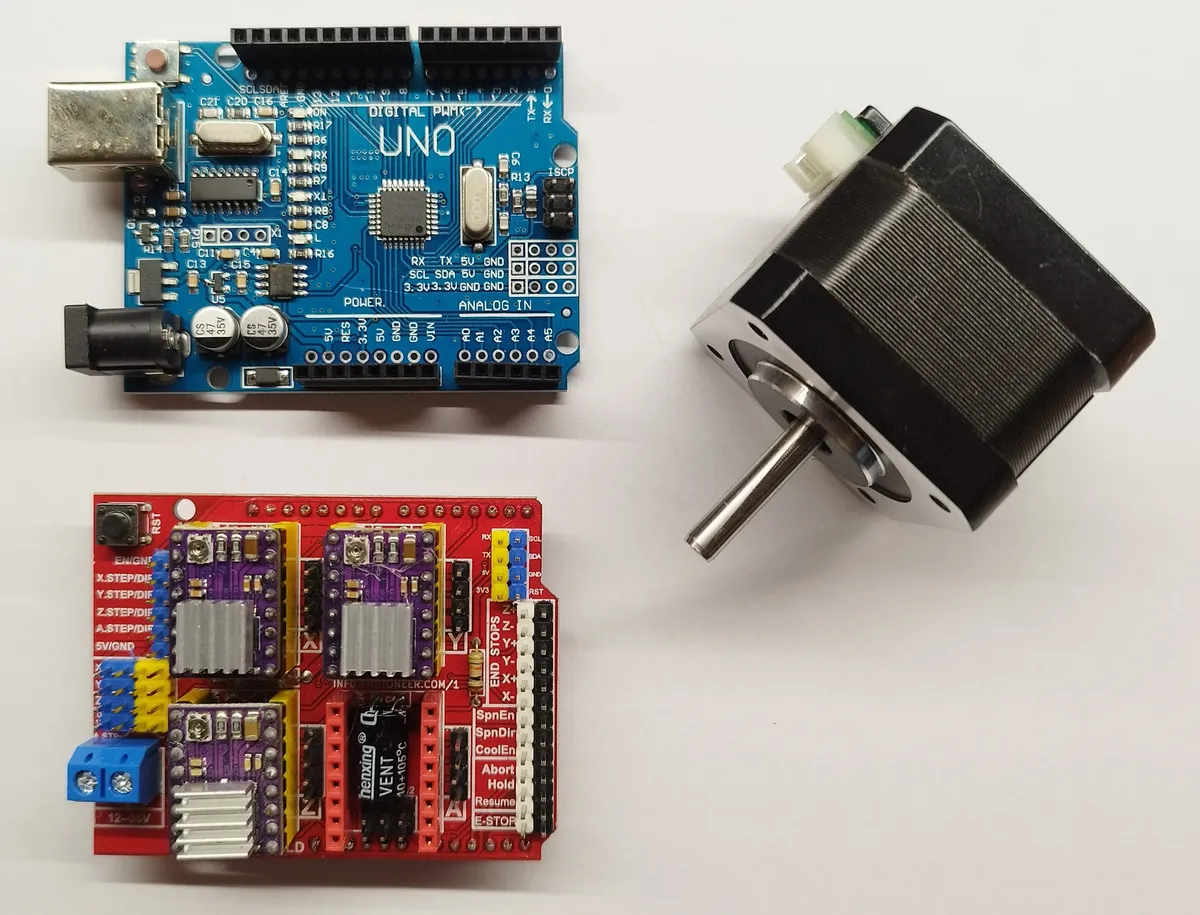
Required Hardware
| Component | Description | Est. Cost |
|---|---|---|
| Arduino Uno | ATmega328P, 16MHz | €15-25 |
| CNC Shield V3 | Plugs on top of Arduino | €8-15 |
| Stepper Drivers | A4988 or DRV8825 (x3-4) | €2-5 each |
| Power Supply | 12-24V, 5A+ depending on motors | €15-30 |
| NEMA 17 Steppers | 1.5A-2A rated (x3-4) | €10-15 each |
Stepper Drivers
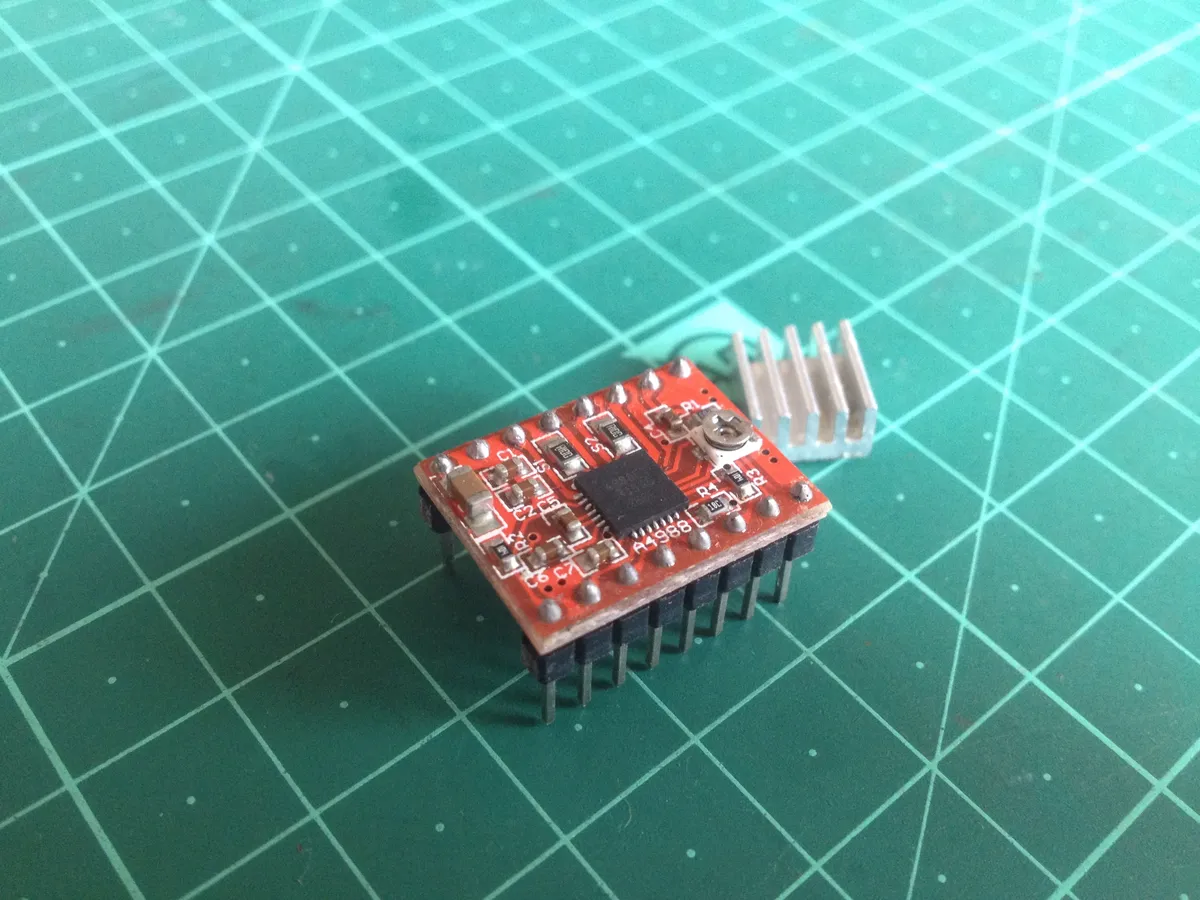
Stepper drivers convert step/direction signals from GRBL into the proper current sequence for stepper motors.
A4988 (Budget)
Max 2A, 1/16 microstepping. Good for most NEMA 17 motors. Needs heatsink!
DRV8825 (Recommended)
Max 2.5A, 1/32 microstepping. Drop-in A4988 replacement. Smoother motion.
TMC2208/TMC2209 (Premium)
Silent operation (StealthChop), up to 256 microstepping. 3D printer favorite.
Wiring Setup

Safety First
Always disconnect power before making wiring changes. Double-check polarity on power connections!
CNC Shield Pin Mapping
GRBL Pin Assignments (Arduino Uno + CNC Shield V3):

X-Axis: Step = D2, Dir = D5
Y-Axis: Step = D3, Dir = D6
Z-Axis: Step = D4, Dir = D7

Spindle Enable: D12 (or D11 PWM)
Spindle Dir: D13

Limit Switches:
 X-Limit: D9
 Y-Limit: D10
 Z-Limit: D11 (shared with spindle PWM)

Coolant: A3
Resume: A2
Hold: A1
Abort: A0
Flashing GRBL
Method 1: Arduino IDE
- Download GRBL from github.com/grbl/grbl
- Extract and find the
grblfolder - Copy the
grblfolder to Arduino libraries folder - Open Arduino IDE → File → Examples → grbl → grblUpload
- Upload to Arduino Uno (select correct board and port)
Method 2: Compiled HEX (Faster)
# Using avrdude (command line)
avrdude -c arduino -p atmega328p -P /dev/ttyUSB0 -b 115200 -U flash:w:grbl.hex

# Or use XLoader (Windows GUI) or similar tool
GRBL Configuration
Connect via serial (115200 baud) and type $$ to see all settings:
| Setting | Description | Example |
|---|---|---|
$100 | X steps/mm | 80 (M8 leadscrew) |
$101 | Y steps/mm | 80 |
$102 | Z steps/mm | 400 (T8 leadscrew) |
$110 | X max rate mm/min | 1000 |
$120 | X acceleration mm/s² | 200 |
$22 | Homing enable | 1 (enabled) |
G-code Sender Software

You need software to send G-code to GRBL. Popular options:
- Universal G-code Sender (UGS) - Java-based, cross-platform, very popular
- Candle - Lightweight Windows app, great for 3018 CNC
- bCNC - Python-based, powerful CAM features built-in
- CNCjs - Web-based, can run on Raspberry Pi
- OpenBuilds CONTROL - Modern interface, machine profiles
Testing Your Setup
Test Commands
$$- Show all settings$X- Unlock after alarm$H- Run homing cycleG0 X10 Y10- Rapid move to X10 Y10G1 X50 F500- Feed move at 500mm/min?- Real-time status report
Common Issues
Motors don't move
Check: Power supply connected? Drivers inserted correctly? Current limit set? Enable jumper in place?
Motors move wrong direction
Swap one coil pair on the motor connector, or change $3 direction invert mask
Skipping steps
Lower acceleration ($120-122), reduce max feedrate ($110-112), or increase driver current
Get GRBL Components
Browse our electronics collection for Arduino, CNC shields, and stepper drivers.
Ready to cut? See our CNC Router Beginners Guide.
Frequently Asked Questions
What is the difference between GRBL 0.9, 1.1, and 3.x versions?
GRBL 0.9 was the previous stable version, widely used but now outdated. GRBL 1.1 (current standard version) added major improvements: laser mode, override controls, improved real-time commands, and better configuration options. GRBL 3.x is a recent major update with enhanced performance, more configureable parameters, and improved features. For new installations, use GRBL 1.1h (latest 1.1 release) as it's stable and well-documented. Consider GRBL 3.x if you need its specific advanced features, but be aware documentation and community support are still developing.
Can GRBL control 4 or more axes?
Standard GRBL (Arduino Uno) supports 3 axes (X, Y, Z). For 4+ axes, use GRBL-Mega running on Arduino Mega 2560, which supports up to 6 axes. Alternatively, grblHAL is an advanced port supporting 5+ axes with extensive configurability. For most hobbyist applications, 3 axes suffice—a fourth axis (A-axis rotary) can often be controlled by temporarily remapping one of the existing axes. Industrial applications requiring true 4+ axis simultaneous interpolation should consider dedicated CNC controllers beyond Arduino-based GRBL.
Why is my CNC machine making strange noises and vibrating?
Excessive noise and vibration typically indicate resonance issues with stepper motors. Solutions: Enable microstepping on stepper drivers (16x or 32x minimum), use TMC2208/TMC2209 drivers with silent operation mode, adjust motor current settings (both too high and too low cause problems), verify mechanical components are tight and properly aligned, add dampers between motors and frame, and adjust feed rates to avoid resonant speeds. If noise occurs at specific speeds, those are resonant frequencies—configure GRBL to avoid those speeds or improve mechanical damping.
How do I convert my 3D printer to run GRBL instead of Marlin?
While possible, converting 3D printer firmware from Marlin to GRBL is generally not recommended. Marlin is specifically designed for 3D printing with features like extruder control, heated bed management, and temperature monitoring that GRBL lacks. GRBL is optimized for CNC operations (routing, engraving) without these features. If you want to use a 3D printer frame for CNC operations, you can flash GRBL firmware, but you'll lose 3D printing capability. Consider keeping Marlin and using CNC-specific G-code, or dedicate the machine to one purpose. For dual-purpose machines, maintain two SD cards with different firmware and swap as needed.
What does 'Alarm:2' or 'Error:9' mean in GRBL?
GRBL uses numbered alarm and error codes for diagnostics. Common codes: Alarm:2 indicates soft limit error (commanded movement exceeds $130/$131/$132 max travel), Alarm:1 is hard limit triggered (limit switch activated during non-homing movement), Error:9 is G-code modal group violation (conflicting commands in same line). Check GRBL documentation for complete error code list. To clear alarms, resolve the underlying issue then send $X to unlock GRBL. For Alarm:2, either adjust soft limits ($130-$132) to match actual travel, disable soft limits temporarily ($20=0), or modify G-code to stay within boundaries.