
Multi-camera systems unlock advanced capabilities like stereo vision, 360-degree monitoring, and synchronized multi-angle capture. This guide covers hardware options, Arducam multiplexer configurations, and software approaches for building robust multi-camera solutions on Raspberry Pi.
Hardware Options and Limitations
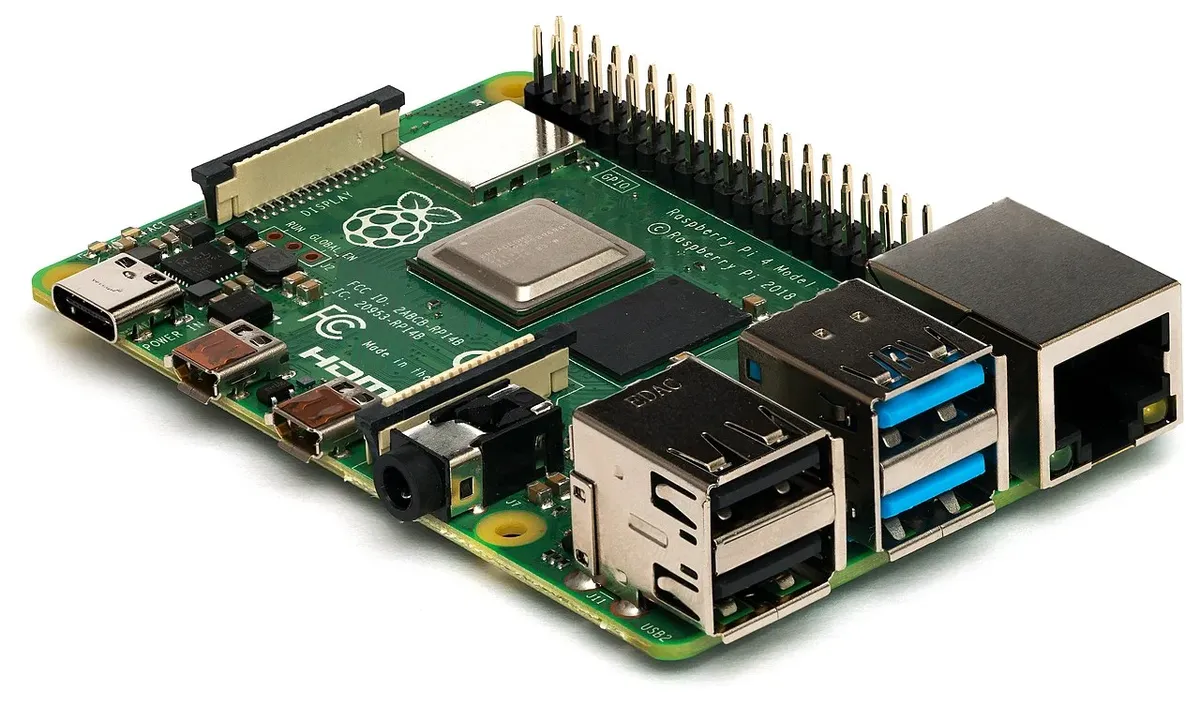
The Raspberry Pi has limited native camera interfaces, requiring specialized hardware for multi-camera setups:
| Pi Model | CSI Ports | Native Cameras | With Multiplexer |
|---|---|---|---|
| Pi 5 | 2x 4-lane CSI | 2 | Up to 8 |
| Pi 4 | 1x 2-lane CSI | 1 | Up to 4 |
| Compute Module 4 | 2x 2-lane CSI | 2 | Up to 6 |
| Pi Zero 2 W | 1x CSI (mini) | 1 | Up to 4 |
Arducam Multiplexer Setup
The Arducam Multi-Camera Adapter enables connecting up to 4 cameras to a single CSI port:
Supported Camera Modules
- Official Raspberry Pi Camera V2 (8MP Sony IMX219)
- Raspberry Pi HQ Camera (12.3MP Sony IMX477)
- Pi Camera Module 3 (12MP with autofocus)
- Arducam IMX519 (16MP autofocus)
- NoIR versions for night vision applications
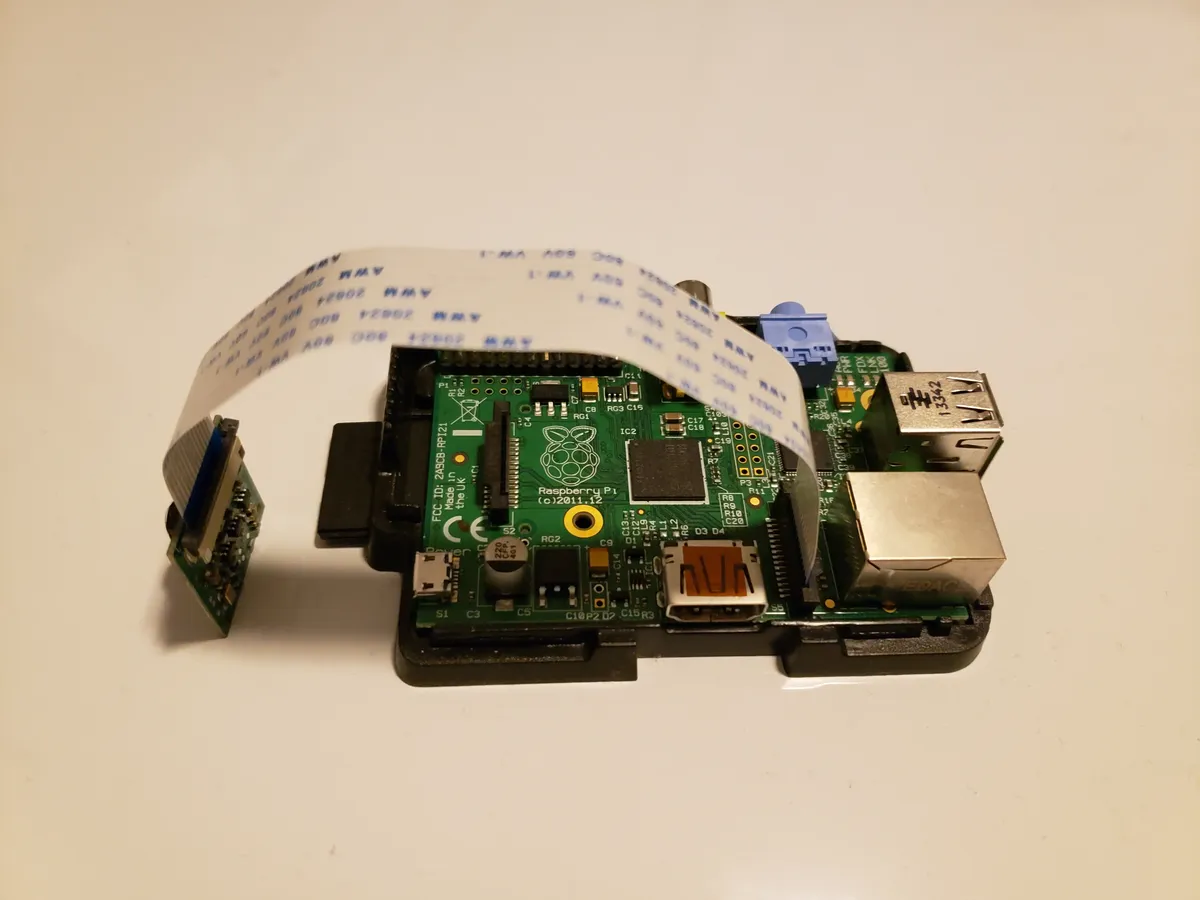
Hardware Installation
# Physical Connection Steps
1. Power off Raspberry Pi completely
2. Connect multiplexer board to Pi CSI port
3. Connect cameras to multiplexer ports (A, B, C, D)
4. Ensure ribbon cables are seated properly
 - Blue side faces away from board on Pi
 - Silver contacts face the board

# Enable Camera in config.txt
sudo nano /boot/firmware/config.txt

# Add these lines:
dtoverlay=arducam-pivariety
camera_auto_detect=0

# Reboot
sudo reboot
Software Configuration
# Install Arducam driver and libraries
cd ~
wget -O install_pivariety_pkgs.sh https://github.com/ArduCAM/Arducam-Pivariety-V4L2-Driver/releases/download/install_script/install_pivariety_pkgs.sh
chmod +x install_pivariety_pkgs.sh
./install_pivariety_pkgs.sh -p libcamera_dev
./install_pivariety_pkgs.sh -p libcamera_apps

# Test camera switching
# Switch to Camera A (port 0)
i2cset -y 10 0x24 0x24 0x02
libcamera-still -o test_cam_a.jpg

# Switch to Camera B (port 1)
i2cset -y 10 0x24 0x24 0x12
libcamera-still -o test_cam_b.webp
Stereo Vision Configuration
Stereo vision requires precisely calibrated parallel cameras for depth perception:

Stereo Baseline
Distance between camera centers:
- 6-10cm: Close-range objects (0.5-2m)
- 10-20cm: Room-scale depth (1-5m)
- 20-50cm: Outdoor/longer range
Calibration Requirements
- Chessboard pattern (9x6 squares)
- 20+ image pairs from different angles
- OpenCV stereoCalibrate function
- Rectification maps for alignment
Python Stereo Capture Code
import cv2
import numpy as np
from picamera2 import Picamera2
import subprocess

class StereoCamera:
 def __init__(self):
 self.picam = Picamera2()
 config = self.picam.create_still_configuration(
 main={"size": (1920, 1080)}
 )
 self.picam.configure(config)

 def switch_camera(self, port):
 """Switch multiplexer to specified port (0-3)"""
 port_values = {0: 0x02, 1: 0x12, 2: 0x22, 3: 0x32}
 cmd = f"i2cset -y 10 0x24 0x24 {hex(port_values[port])}"
 subprocess.run(cmd.split(), check=True)

 def capture_stereo_pair(self):
 """Capture synchronized left/right images"""
 self.picam.start()

 # Capture left camera
 self.switch_camera(0)
 left = self.picam.capture_array()

 # Capture right camera
 self.switch_camera(1)
 right = self.picam.capture_array()

 self.picam.stop()
 return left, right

 def compute_disparity(self, left, right):
 """Calculate disparity map for depth estimation"""
 # Convert to grayscale
 left_gray = cv2.cvtColor(left, cv2.COLOR_BGR2GRAY)
 right_gray = cv2.cvtColor(right, cv2.COLOR_BGR2GRAY)

 # Create stereo matcher
 stereo = cv2.StereoSGBM_create(
 minDisparity=0,
 numDisparities=128,
 blockSize=11,
 P1=8 * 3 * 11**2,
 P2=32 * 3 * 11**2,
 disp12MaxDiff=1,
 uniquenessRatio=10,
 speckleWindowSize=100,
 speckleRange=32
 )

 disparity = stereo.compute(left_gray, right_gray)
 return disparity

# Usage
camera = StereoCamera()
left, right = camera.capture_stereo_pair()
depth = camera.compute_disparity(left, right)
360-Degree Monitoring System
Create comprehensive surveillance coverage using four cameras positioned at 90-degree intervals:
Camera Layout Pattern
 [Cam A - North]
 |
 [Cam D]------+------[Cam B]
 West | East
 |
 [Cam C - South]

 Each camera: 90° FOV = Full 360° coverage
 Overlap zones: Better stitching accuracy
Motion Detection Monitoring Script
#!/usr/bin/env python3
"""Multi-camera motion detection monitoring system"""

import cv2
import time
from datetime import datetime
from threading import Thread, Lock
import queue

class CameraMonitor:
 def __init__(self, num_cameras=4):
 self.num_cameras = num_cameras
 self.frames = {}
 self.prev_frames = {}
 self.motion_threshold = 5000
 self.recording = False
 self.lock = Lock()

 def detect_motion(self, current, previous, camera_id):
 """Compare frames to detect significant motion"""
 if previous is None:
 return False

 diff = cv2.absdiff(current, previous)
 gray = cv2.cvtColor(diff, cv2.COLOR_BGR2GRAY)
 blur = cv2.GaussianBlur(gray, (21, 21), 0)
 _, thresh = cv2.threshold(blur, 25, 255, cv2.THRESH_BINARY)

 motion_pixels = cv2.countNonZero(thresh)

 if motion_pixels > self.motion_threshold:
 timestamp = datetime.now().strftime("%Y%m%d_%H%M%S")
 filename = f"motion_cam{camera_id}_{timestamp}.webp"
 cv2.imwrite(filename, current)
 print(f"Motion detected on camera {camera_id}: {filename}")
 return True
 return False

 def run_monitoring_cycle(self):
 """Cycle through all cameras checking for motion"""
 while True:
 for cam_id in range(self.num_cameras):
 # Switch to camera and capture
 frame = self.capture_from_camera(cam_id)

 with self.lock:
 prev = self.prev_frames.get(cam_id)
 self.detect_motion(frame, prev, cam_id)
 self.prev_frames[cam_id] = frame

 time.sleep(0.5) # Cycle delay

if __name__ == "__main__":
 monitor = CameraMonitor(num_cameras=4)
 monitor.run_monitoring_cycle()
Frame Synchronization Techniques
For applications requiring simultaneous capture, consider these synchronization approaches:
| Method | Timing Accuracy | Complexity | Use Case |
|---|---|---|---|
| Sequential Multiplexing | 50-200ms offset | Simple | Monitoring, time-lapse |
| Hardware Trigger (XVS) | <1ms offset | Complex | Stereo vision, photogrammetry |
| Dual CSI (Pi 5/CM4) | ~16ms (frame time) | Moderate | Real-time stereo |
| USB Cameras + Pi | Variable (10-100ms) | Simple | Budget multi-view |
Performance Optimization
Resource Considerations
- CPU: Use hardware encoding (H.264) when streaming
- Memory: 4GB RAM minimum for 4 cameras at 1080p
- Storage: Use fast microSD (A2 rated) or USB 3.0 SSD
- Power: Official 5V/3A supply minimum; 5V/5A for Pi 5
- Cooling: Active cooling recommended for sustained capture
Application Ideas
3D Scanning
Photogrammetry with synchronized multi-angle capture
Wildlife Monitoring
NoIR cameras with IR illumination for 24/7 coverage
Autonomous Robots
Stereo depth for obstacle avoidance and navigation
Multi-camera systems on Raspberry Pi provide powerful capabilities for vision applications that would otherwise require expensive commercial solutions. With proper hardware selection and software optimization, you can build robust systems for stereo vision, monitoring, and more.
Frequently Asked Questions
How many cameras can I connect to a single Raspberry Pi?
With an Arducam multiplexer board, you can connect up to 4 CSI cameras to a single Raspberry Pi CSI port (sequential switching between cameras). Using USB cameras, you can connect as many cameras as you have USB ports and bandwidth allows - typically 2-4 cameras on Raspberry Pi 4/5. For more cameras with simultaneous capture, use multiple Raspberry Pis networked together. Each approach has trade-offs between cost, simultaneous capture capability, and image quality.
Can I capture from all cameras simultaneously with a multiplexer?
No, Arducam multiplexer boards switch between cameras sequentially - you can only capture from one camera at a time. The multiplexer electronically connects each camera to the CSI port in turn. Switching time is approximately 0.5-1 second per camera. For true simultaneous capture, use USB cameras (multiple cameras capturing at the same time) or multiple Raspberry Pis, each with its own camera.
What cameras should I use for stereo vision and depth sensing?
Use two identical camera modules with the same sensor, lens, and specifications. The Arducam IMX219 8MP cameras are popular for stereo vision due to their good quality and affordable price. Global shutter cameras like the Arducam OV9281 are even better as they eliminate motion blur and rolling shutter distortion. Mount cameras horizontally separated by 50-150mm (wider baseline = better depth accuracy at distance but requires larger scene overlap).
How do I synchronize multiple USB cameras?
For USB cameras, implement threaded capture where each camera runs in its own thread, capturing as fast as possible. Then use timestamp-based synchronization to pair frames captured within a small time window (typically <50ms). For precise synchronization, use cameras with external trigger support and wire trigger signals together. Software-only synchronization has limitations due to USB timing variations and CPU scheduling, but works acceptably for many applications like surveillance and slow-motion subjects.
What's the difference between using a multiplexer vs multiple Raspberry Pis?
Multiplexer: Lower cost (one Pi), simpler setup, but sequential capture only (can't capture from all cameras simultaneously). Best for surveillance where you can cycle through cameras every 1-2 seconds. Multiple Pis: Higher cost, more complex networking, but true simultaneous capture and distributed processing. Each Pi processes its own camera independently, then shares results over network. Best for applications requiring synchronized multi-camera capture like stereo vision, 3D scanning, or high-speed multi-angle recording.