
Transform your home into a smart living space with a custom Nextion touchscreen control panel. Unlike commercial smart home hubs, a DIY solution gives you complete control over your data, unlimited customization options, and zero subscription fees. This comprehensive guide walks you through building a professional-grade smart home dashboard.
Why Nextion for Smart Home Control?
Nextion displays offer significant advantages for smart home applications compared to generic LCDs or web-based dashboards:
| Feature | Nextion HMI | Generic LCD | Web Dashboard |
|---|---|---|---|
| Response Time | Instant | 50-200ms | Network dependent |
| Graphics Processing | Built-in GPU | MCU software | Browser |
| Touch Accuracy | Capacitive | Resistive | Device dependent |
| Offline Operation | Full | Full | Limited |
| Power Consumption | ~300mA | ~200mA | Device dependent |
Hardware Components Required
Essential Components
- • Nextion 7" Enhanced Display (NX8048K070)
- • ESP32 or Arduino Mega
- • 5V 3A Power Supply
- • UART Level Shifter (3.3V ↔ 5V)
- • Enclosure or wall mount
Smart Home Modules
- • Relay modules (4-8 channel)
- • DHT22 temperature/humidity sensor
- • PIR motion sensors
- • Door/window reed switches
- • RGB LED strips with controllers
Designing the Smart Home Interface
A well-designed smart home interface should provide:
- Dashboard page - Overview of all systems with quick toggles
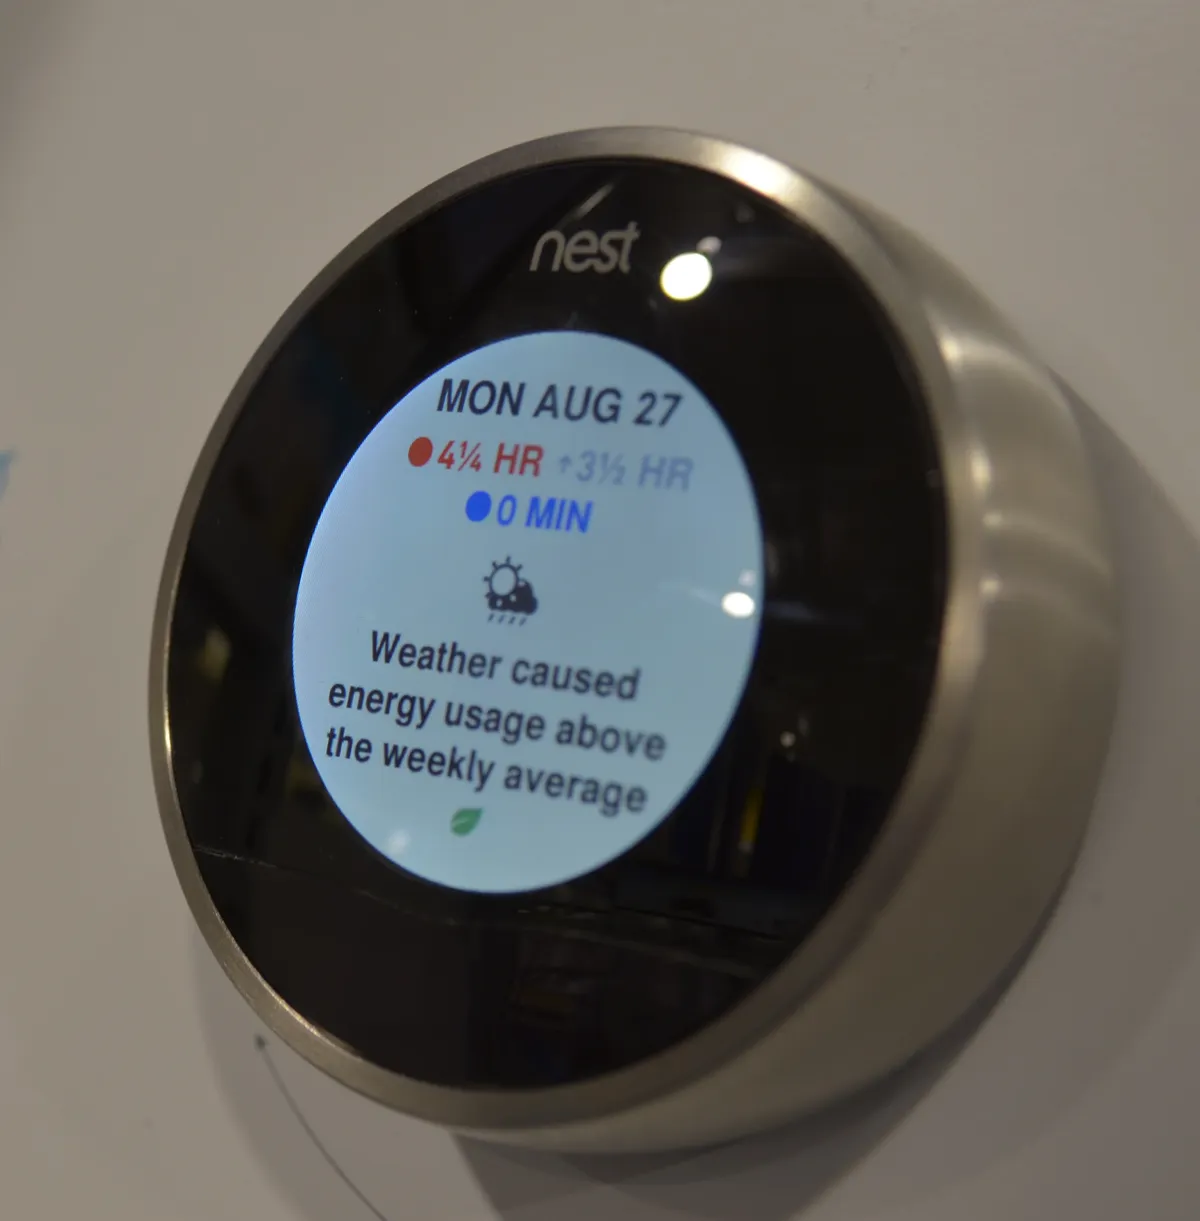
- Climate control - Temperature, humidity, HVAC scheduling
- Lighting control - Room-by-room dimming and color control
- Security page - Alarm status, camera feeds, door locks
- Energy monitoring - Real-time consumption graphs
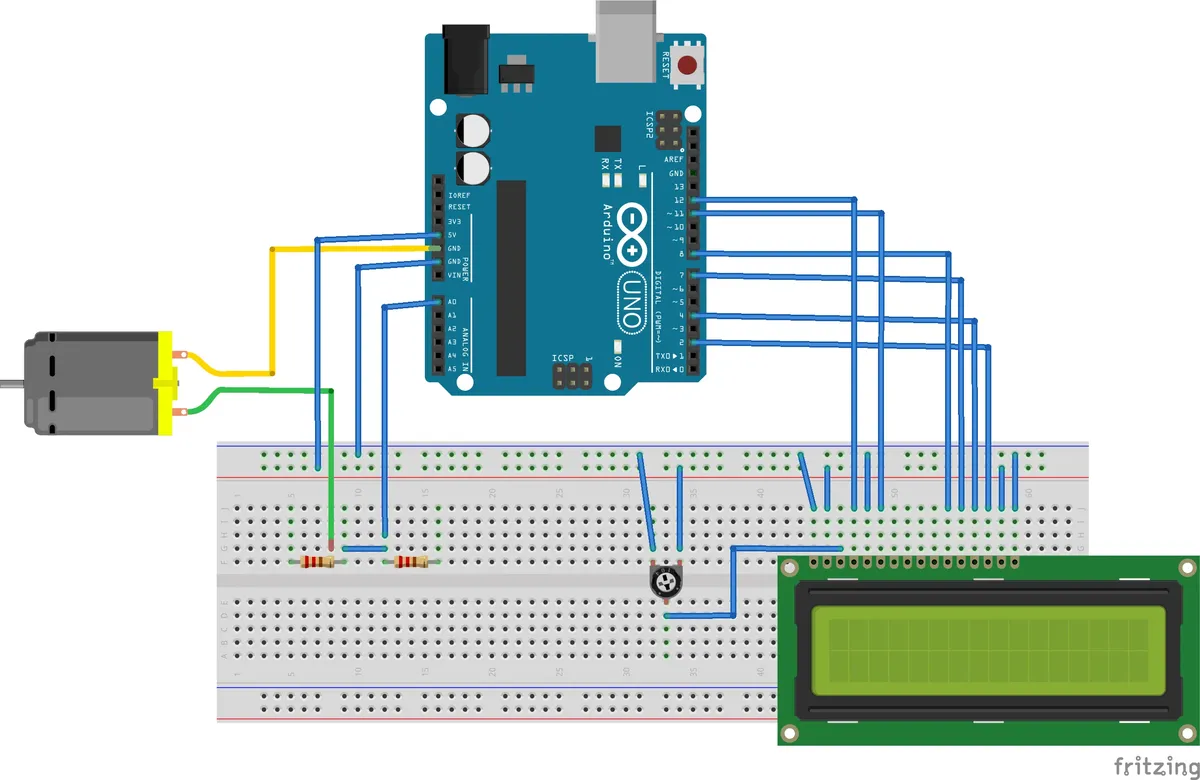
Arduino Integration Code
#include <SoftwareSerial.h>

// Nextion display on Serial2 (or SoftwareSerial)
#define NEXTION_RX 16
#define NEXTION_TX 17

// Relay pins
const int RELAY_LIGHTS = 4;
const int RELAY_FAN = 5;
const int RELAY_HVAC = 6;

// Sensor pins
const int TEMP_SENSOR = A0;
const int MOTION_PIR = 7;

void setup() {
 Serial.begin(115200);
 Serial2.begin(9600); // Nextion default baud

 pinMode(RELAY_LIGHTS, OUTPUT);
 pinMode(RELAY_FAN, OUTPUT);
 pinMode(RELAY_HVAC, OUTPUT);
 pinMode(MOTION_PIR, INPUT);

 // Initialize display
 sendCommand("page 0");
 updateDashboard();
}

void loop() {
 // Handle Nextion touch events
 if (Serial2.available()) {
 String cmd = Serial2.readStringUntil('
');
 processCommand(cmd);
 }

 // Update sensors every 2 seconds
 static unsigned long lastUpdate = 0;
 if (millis() - lastUpdate > 2000) {
 updateSensors();
 lastUpdate = millis();
 }

 // Check motion for auto-lights
 checkMotionSensor();
}

void sendCommand(String cmd) {
 Serial2.print(cmd);
 Serial2.write(0xFF);
 Serial2.write(0xFF);
 Serial2.write(0xFF);
}

void processCommand(String cmd) {
 if (cmd.startsWith("lights=")) {
 int state = cmd.substring(7).toInt();
 digitalWrite(RELAY_LIGHTS, state);
 sendCommand("lights.val=" + String(state));
 }
 else if (cmd.startsWith("fan=")) {
 int state = cmd.substring(4).toInt();
 digitalWrite(RELAY_FAN, state);
 }
 else if (cmd.startsWith("hvac=")) {
 int mode = cmd.substring(5).toInt();
 setHVACMode(mode);
 }
}

void updateSensors() {
 float temp = readTemperature();
 int humidity = readHumidity();

 sendCommand("temp.txt="" + String(temp, 1) + "°C"");
 sendCommand("humidity.txt="" + String(humidity) + "%"");
}
Wiring Safety
When controlling mains-powered devices (lights, HVAC), always use properly rated relay modules with optocoupler isolation. Consider hiring a licensed electrician for permanent installations.
Home Automation Integration
Connect your Nextion panel to popular smart home ecosystems:
Home Assistant
ESPHome integration with full bidirectional control. Real-time entity state sync.
MQTT
Universal protocol support. Works with Node-RED, OpenHAB, Domoticz.
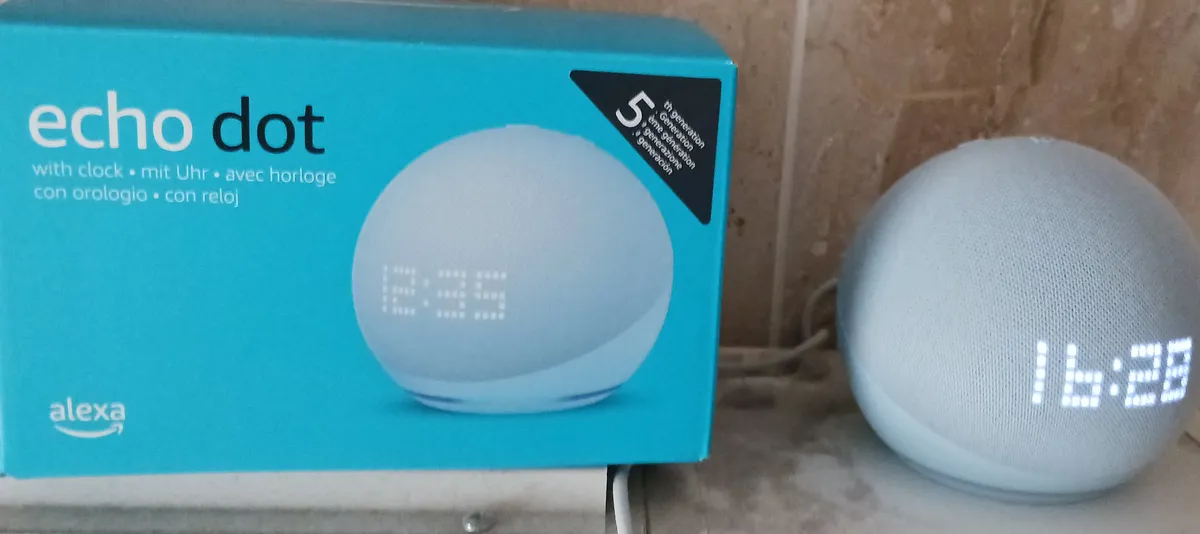
Alexa/Google
Voice control via Home Assistant or direct Sinric Pro integration.
Conclusion
A Nextion-based smart home control panel offers the perfect balance of professional appearance, responsive touch control, and DIY flexibility. Start with basic lighting control, then expand to climate, security, and energy monitoring as your system grows.
Ready to build your smart home dashboard? Browse our selection of Nextion displays and smart home components at Robotics3D.
Frequently Asked Questions
Can I control my existing smart home devices with a Nextion display?
Yes, as long as your devices communicate via standard protocols (MQTT, HTTP, Zigbee, Z-Wave) or are integrated with platforms like Home Assistant, OpenHAB, or Domoticz. The ESP32 acts as a bridge, translating Nextion touch events into commands your devices understand and displaying state updates from your devices.
Do I need programming experience to build a Nextion smart home panel?
Basic programming knowledge helps, particularly for the ESP32 integration code, but the Nextion interface itself can be designed entirely visually. Many users successfully create interfaces using example ESP32 code and modifying only the Nextion GUI design. The Nextion Editor requires no coding for layout and basic interactions.
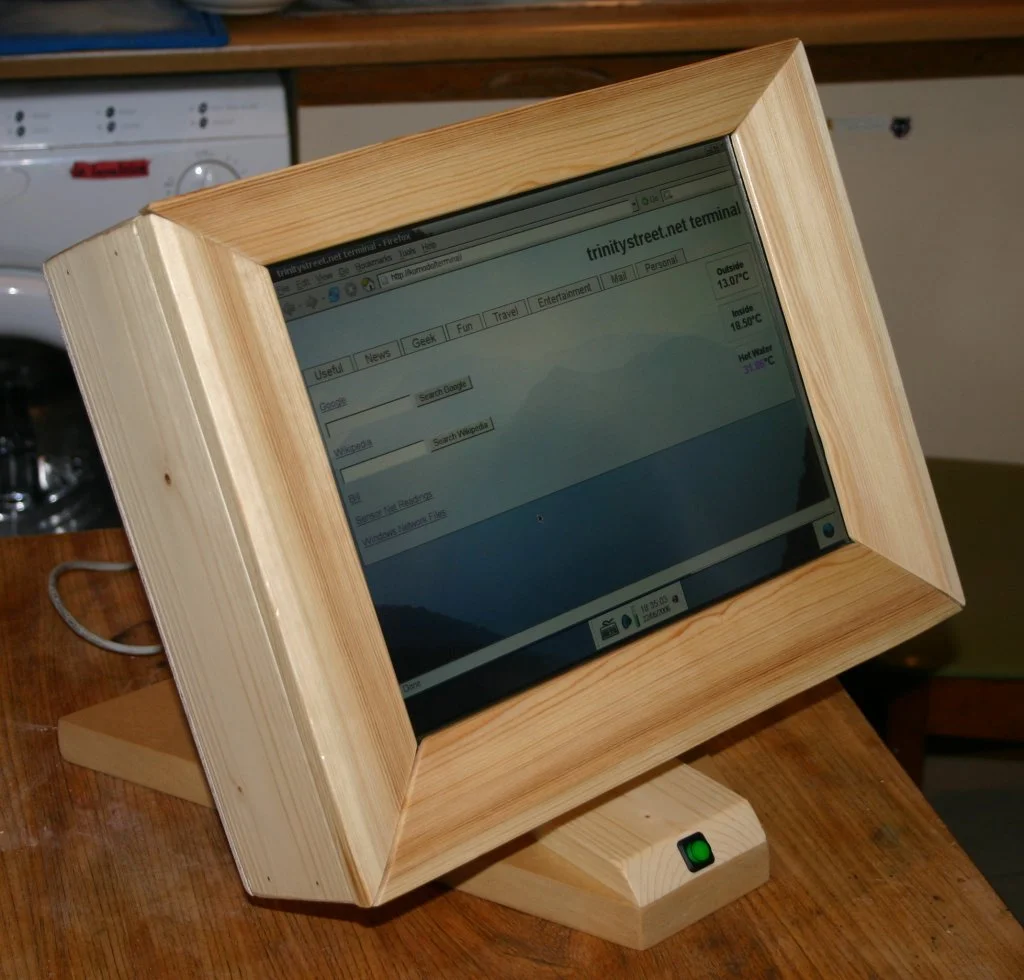
How do I mount a Nextion display in my wall?
Several options exist: 1) 3D print a custom wall mount enclosure, 2) Use a standard electrical box with a custom faceplate, 3) Purchase commercial tablet wall mounts and adapt for Nextion dimensions, or 4) Use adhesive mounting with cable management for a clean look. Enhanced series displays have mounting holes for easy installation.
Can the Nextion panel work if my WiFi goes down?
The interface will still display and respond to touches, but commands won't reach your devices without network connectivity. For critical functions, consider adding local control capabilities - the ESP32 can control devices directly via GPIO pins or local Bluetooth without requiring internet access. The Enhanced series' GPIO pins are perfect for direct relay control.
How do I secure my smart home panel from unauthorized control?
Implement a PIN code system on the Nextion for sensitive functions (arming/disarming security, unlocking doors). Store the PIN verification logic on the ESP32 or server side, not in the Nextion display. Use MQTT authentication, encrypt traffic with TLS, and isolate your smart home network from guest WiFi. For high-security installations, consider user profiles with different permission levels.