
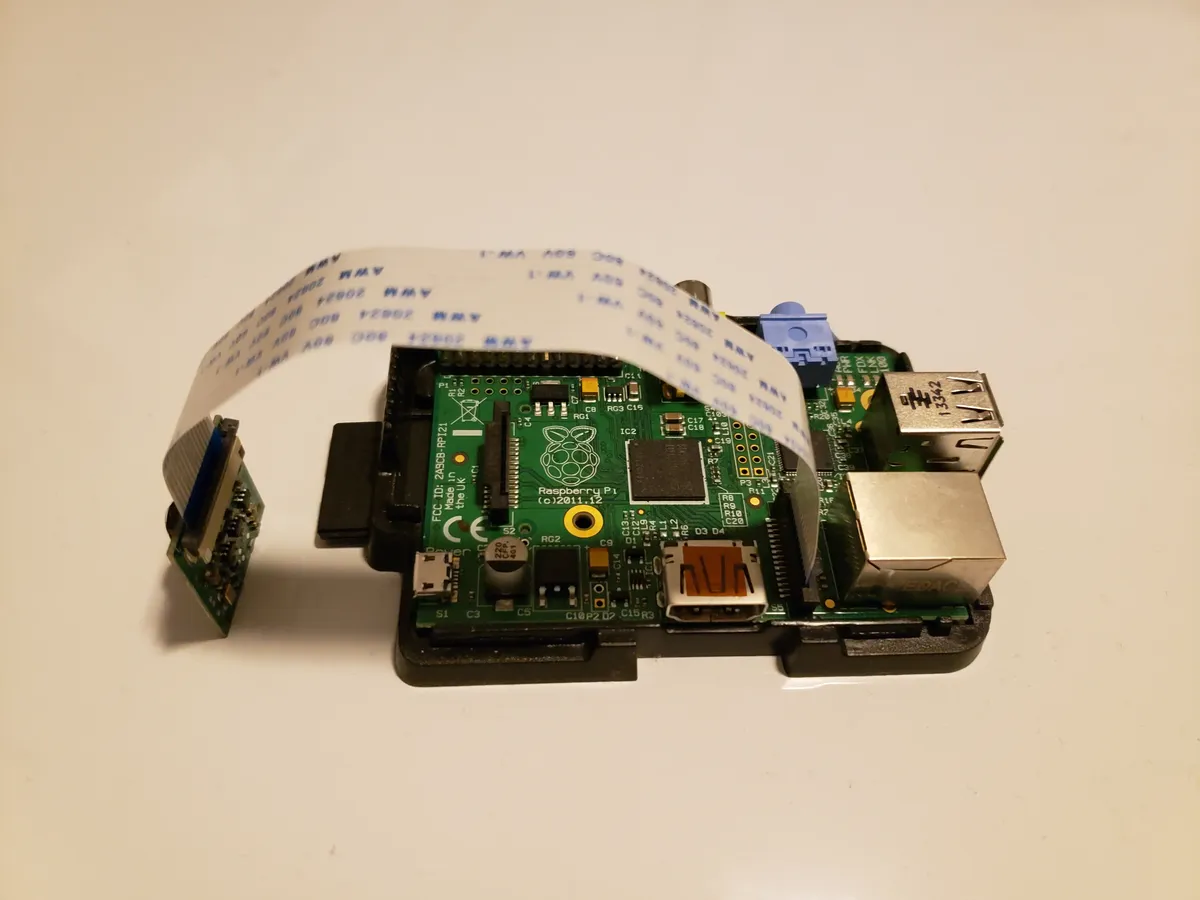
The Raspberry Pi camera module transforms your tiny computer into a versatile imaging platform. From security systems to wildlife photography, time-lapse recordings to machine vision, the possibilities are endless. This guide covers 15 practical camera projects with step-by-step instructions for all skill levels.
Raspberry Pi Camera Hardware Options
Before diving into projects, understanding your camera options helps you choose the right hardware for your needs:
| Camera Module | Resolution | Sensor | Best For | Price |
|---|---|---|---|---|
| Camera Module 3 | 12MP | Sony IMX708 | General purpose, autofocus | €25-35 |
| Camera Module 3 NoIR | 12MP | Sony IMX708 | Night vision with IR LEDs | €25-35 |
| HQ Camera | 12.3MP | Sony IMX477 | Professional, interchangeable lenses | €50-60 |
| Global Shutter Camera | 1.6MP | Sony IMX296 | Fast motion, machine vision | €45-55 |
Basic Camera Setup
Before starting any project, configure your camera with libcamera (the modern camera stack):
# Update system and enable camera
sudo apt update && sudo apt upgrade -y
sudo raspi-config
# Navigate to Interface Options > Camera > Enable

# Test camera
libcamera-hello
libcamera-still -o test.jpg
libcamera-vid -t 10000 -o test.h264
Project 1: Time-Lapse Photography System
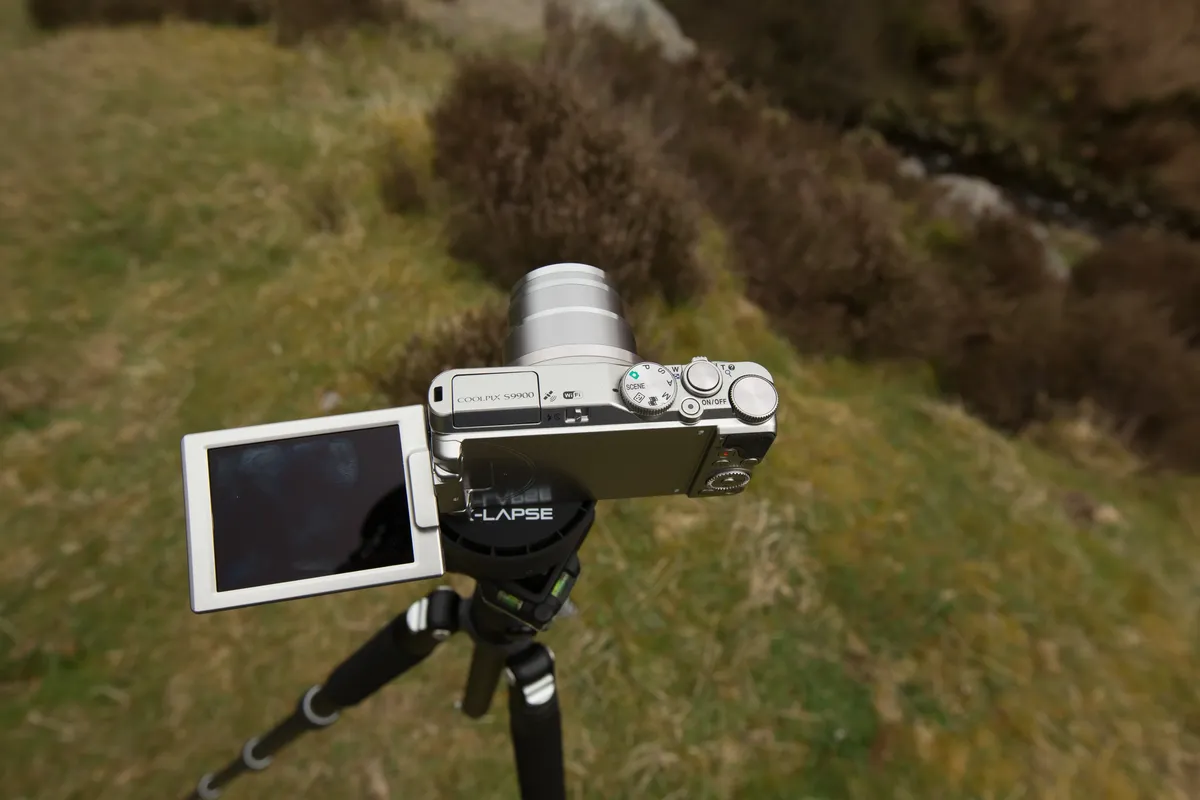
Create stunning time-lapse videos of sunsets, plant growth, or construction projects:
#!/usr/bin/env python3
"""Time-lapse capture script for Raspberry Pi Camera"""
import subprocess
import time
from datetime import datetime
from pathlib import Path
# Configuration
INTERVAL_SECONDS = 30 # Capture every 30 seconds
DURATION_HOURS = 24 # Run for 24 hours
OUTPUT_DIR = Path('/home/pi/timelapse')
OUTPUT_DIR.mkdir(exist_ok=True)
total_captures = int((DURATION_HOURS * 3600) / INTERVAL_SECONDS)
print(f'Starting time-lapse: {total_captures} images over {DURATION_HOURS} hours')
for i in range(total_captures):
timestamp = datetime.now().strftime('%Y%m%d_%H%M%S')
filename = OUTPUT_DIR / f'img_{i:05d}_{timestamp}.jpg'
# Capture image with auto exposure
subprocess.run([
'libcamera-still',
'-o', str(filename),
'--width', '1920',
'--height', '1080',
'-n', # No preview
'--immediate'
])
print(f'[{i+1}/{total_captures}] Captured: {filename.name}')
time.sleep(INTERVAL_SECONDS)
# Convert to video with ffmpeg
print('Creating video...')
subprocess.run([
'ffmpeg', '-framerate', '30',
'-pattern_type', 'glob',
'-i', str(OUTPUT_DIR / '*.jpg'),
'-c:v', 'libx264', '-pix_fmt', 'yuv420p',
str(OUTPUT_DIR / 'timelapse.mp4')
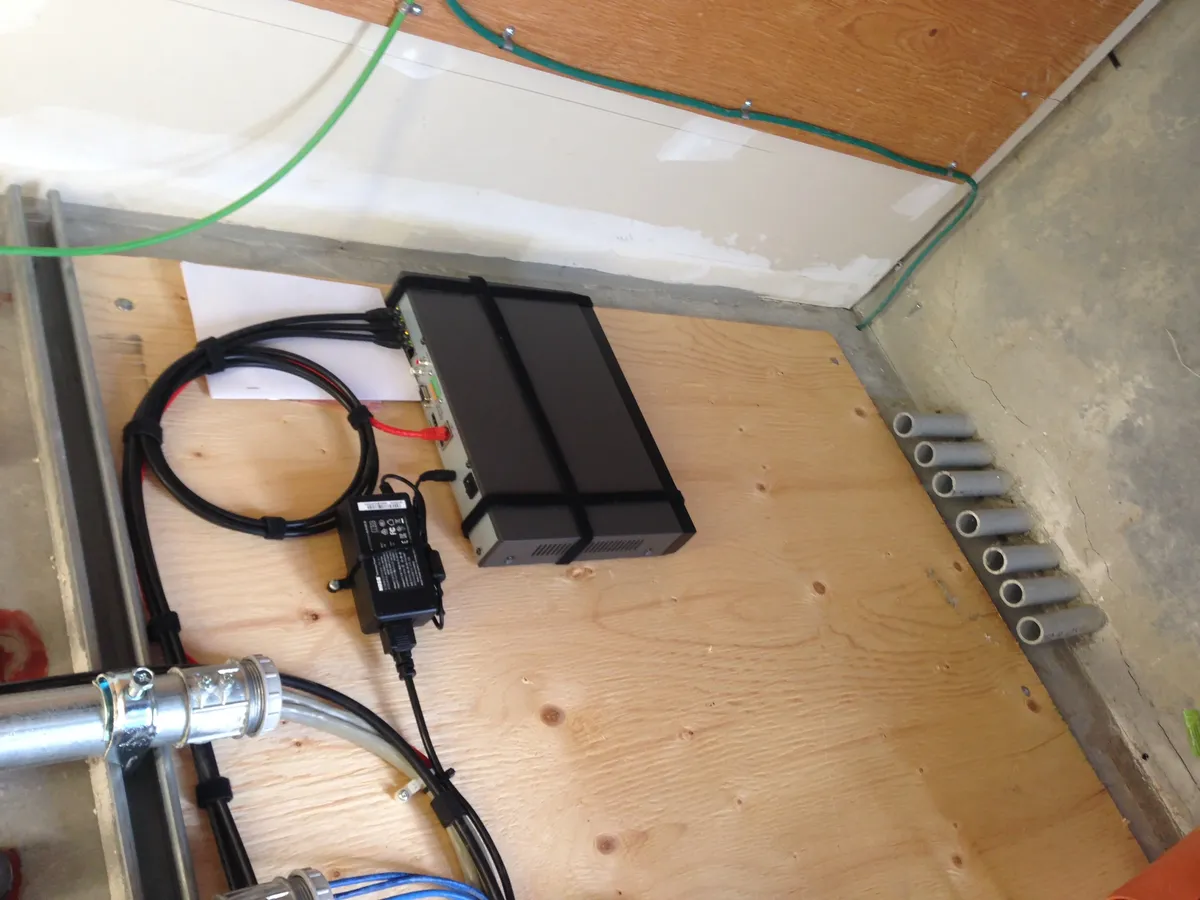
])Power Tip
For outdoor time-lapses, use a solar panel and battery pack. The Pi Zero 2 W is ideal for low-power deployments, consuming under 1W during capture.
Project 2: Home Security Camera System
Build a motion-detecting security camera with local storage:
#!/usr/bin/env python3
"""Motion detection security camera"""
import subprocess
import time
import numpy as np
from PIL import Image
from io import BytesIO
from datetime import datetime
from pathlib import Path

SENSITIVITY = 20 # Motion threshold (0-100)
MIN_AREA = 500 # Minimum motion area in pixels
RECORDINGS_DIR = Path('/home/pi/security')
RECORDINGS_DIR.mkdir(exist_ok=True)

def capture_frame():
 """Capture a single frame and return as numpy array"""
 result = subprocess.run([
 'libcamera-still', '-o', '-',
 '--width', '640', '--height', '480',
 '-n', '--immediate', '-e', 'jpg'
 ], capture_output=True)
 img = Image.open(BytesIO(result.stdout)).convert('L')
 return np.array(img)

def detect_motion(frame1, frame2):
 """Compare frames and detect motion"""
 diff = np.abs(frame1.astype(int) - frame2.astype(int))
 motion_pixels = np.sum(diff > SENSITIVITY)
 return motion_pixels > MIN_AREA

print('Security camera active. Press Ctrl+C to stop.')
prev_frame = capture_frame()

while True:
 time.sleep(0.5)
 current_frame = capture_frame()

 if detect_motion(prev_frame, current_frame):
 timestamp = datetime.now().strftime('%Y%m%d_%H%M%S')
 video_file = RECORDINGS_DIR / f'motion_{timestamp}.h264'

 print(f'Motion detected! Recording to {video_file}')
 subprocess.run([
 'libcamera-vid', '-t', '10000',
 '-o', str(video_file),
 '--width', '1920', '--height', '1080'
 ])

 prev_frame = current_frame
15 Camera Project Ideas
Beginner Projects
- 1. Photo booth with button trigger
- 2. Bird feeder camera
- 3. Baby monitor with streaming
- 4. Doorbell camera
- 5. Plant growth time-lapse
Intermediate Projects
- 6. Wildlife camera trap
- 7. Dash cam with GPS
- 8. 3D scanner turntable
- 9. QR code reader system
- 10. Panorama stitcher
Advanced Projects
- 11. Face recognition door lock
- 12. License plate reader
- 13. Multi-camera streaming server
- 14. Astrophotography controller
- 15. Industrial inspection system
Hardware Needs
- • Pi 4/5 for video processing
- • Pi Zero 2 W for remote cameras
- • NoIR module for night vision
- • HQ Camera for photography
Live Streaming Setup
Stream your camera feed to any device on your network:
# Install streaming dependencies
sudo apt install -y vlc

# Start RTSP stream (accessible at rtsp://pi-ip:8554/stream)
libcamera-vid -t 0 --inline -o - | cvlc stream:///dev/stdin --sout '#rtp{sdp=rtsp://:8554/stream}' :demux=h264

# Alternative: HLS streaming for web browsers
# Install nginx-rtmp-module for production use
Privacy First
Unlike cloud-based cameras, Raspberry Pi security systems keep all footage on your local network. No monthly fees, no data harvesting, complete control over your recordings.
Conclusion
The Raspberry Pi camera ecosystem offers incredible flexibility for hobbyists and professionals alike. Start with basic capture scripts, then progress to motion detection and streaming. With the new Camera Module 3's autofocus and improved low-light performance, even complex projects become accessible to beginners.
Ready to build your first camera project? Browse our selection of Raspberry Pi camera modules and accessories at Robotics3D.
Frequently Asked Questions
Which Raspberry Pi camera is best for beginners?
The Camera Module 3 is ideal for beginners. It offers 12MP resolution, autofocus, excellent low-light performance, and costs €25-30. It's plug-and-play with modern Raspberry Pi OS and works with all standard Pi models. For night vision projects, get the NoIR (no infrared filter) version.
Can I use multiple cameras with one Raspberry Pi?
Yes, but it depends on your Pi model. The Raspberry Pi Compute Module 4 supports up to 2 native camera modules. For standard Pi boards, you can use USB cameras (up to 4 typically) or a camera multiplexer board. Performance decreases with multiple simultaneous streams, so Raspberry Pi 5 is recommended for multi-camera projects.
How do I enable night vision on Raspberry Pi camera?
Use the Camera Module 3 NoIR (no infrared filter) version combined with IR LED illuminators. Regular cameras block infrared light, but NoIR cameras can see it. Add 850nm IR LEDs for invisible illumination or 940nm for completely invisible operation. This setup enables clear night vision up to 5-10 meters.
What resolution should I use for motion detection?
For motion detection, 640x480 (VGA) is usually sufficient and provides fast processing. Higher resolutions like 1920x1080 slow down detection without significant accuracy improvement. Use lower resolution for detection, but capture high-resolution images/video when motion is detected for the best balance of speed and quality.
Can Raspberry Pi camera do real-time object detection?
Yes, especially with Raspberry Pi 5. Using TensorFlow Lite with optimized models (MobileNet SSD), you can achieve 15-30 FPS object detection at 640x480 resolution. Pi 4 manages 5-15 FPS. For better performance, use Google Coral USB Accelerator or other AI accelerators, which can achieve 60+ FPS.