
Getting Started with Arduino Sensors
Sensors allow your Arduino to perceive the world - temperature, distance, light, motion, and more. This guide covers the most popular sensors with wiring diagrams and code examples.
Popular Sensor Types
- Environmental: Temperature, humidity, pressure
- Distance: Ultrasonic, IR, LIDAR
- Light: LDR, photodiode, UV
- Motion: PIR, accelerometer, gyroscope
- Sound: Microphone, sound level
Temperature & Humidity: DHT22

The DHT22 (AM2302) is a reliable, affordable sensor for temperature and humidity measurements.
| Spec | DHT22 | DHT11 |
|---|---|---|
| Temp Range | -40 to 80°C | 0 to 50°C |
| Temp Accuracy | ±0.5°C | ±2°C |
| Humidity | 0-100% | 20-80% |
| Price | ~€4 | ~€2 |
#include "DHT.h"
#define DHTPIN 2
#define DHTTYPE DHT22

DHT dht(DHTPIN, DHTTYPE);

void setup() {
 Serial.begin(9600);
 dht.begin();
}

void loop() {
 float h = dht.readHumidity();
 float t = dht.readTemperature();

 Serial.print("Temp: "); Serial.print(t); Serial.print("°C ");
 Serial.print("Humidity: "); Serial.print(h); Serial.println("%");
 delay(2000);
}
Distance: HC-SR04 Ultrasonic
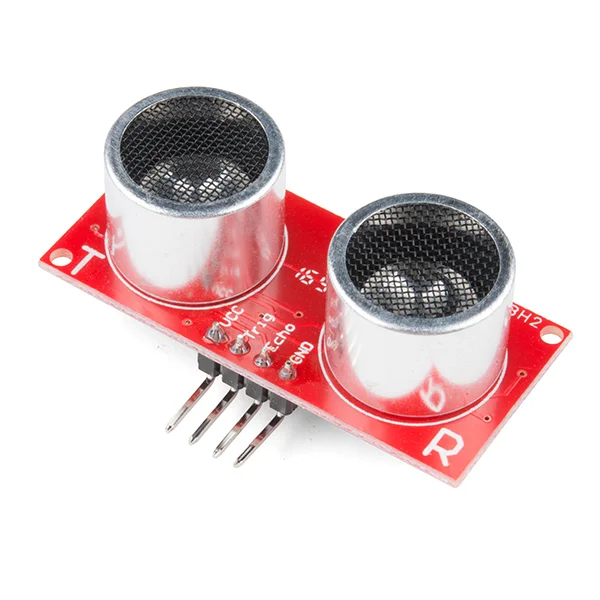
The HC-SR04 measures distance using ultrasonic pulses (like sonar). Range: 2cm to 400cm.
Wiring
- VCC → 5V
- GND → GND
- TRIG → Pin 9
- ECHO → Pin 10
#define TRIG_PIN 9
#define ECHO_PIN 10

void setup() {
 Serial.begin(9600);
 pinMode(TRIG_PIN, OUTPUT);
 pinMode(ECHO_PIN, INPUT);
}

void loop() {
 // Send pulse
 digitalWrite(TRIG_PIN, LOW);
 delayMicroseconds(2);
 digitalWrite(TRIG_PIN, HIGH);
 delayMicroseconds(10);
 digitalWrite(TRIG_PIN, LOW);

 // Measure echo time
 long duration = pulseIn(ECHO_PIN, HIGH);
 float distance = duration * 0.034 / 2; // cm

 Serial.print("Distance: ");
 Serial.print(distance);
 Serial.println(" cm");
 delay(100);
}
Light: LDR (Photoresistor)
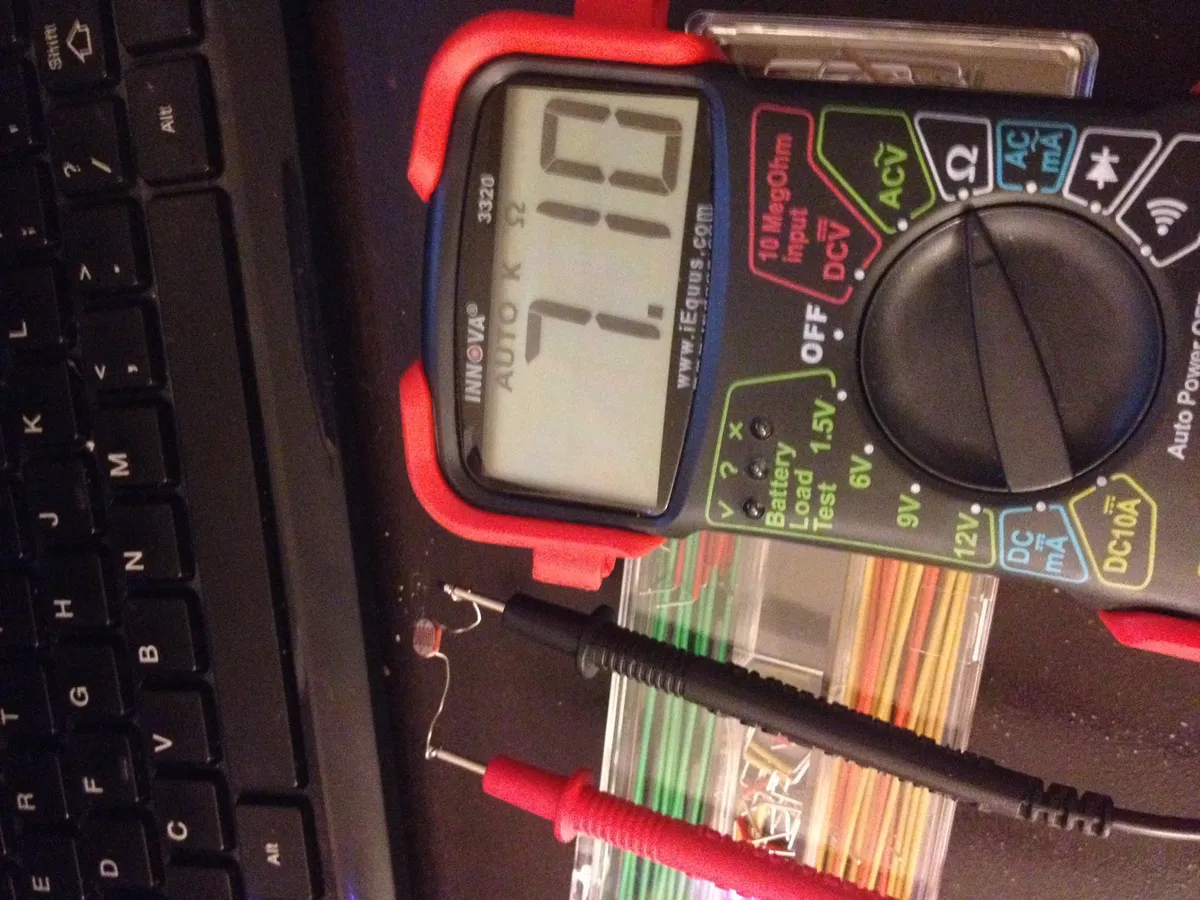
An LDR changes resistance based on light intensity. Use with a voltage divider to read analog values.
#define LDR_PIN A0

void setup() {
 Serial.begin(9600);
}

void loop() {
 int lightValue = analogRead(LDR_PIN);

 Serial.print("Light: ");
 Serial.print(lightValue);

 if (lightValue < 200) {
 Serial.println(" (Dark)");
 } else if (lightValue < 600) {
 Serial.println(" (Dim)");
 } else {
 Serial.println(" (Bright)");
 }
 delay(500);
}
Project Ideas
Weather Station
DHT22 + BMP280 + display, log to SD card
Parking Sensor
HC-SR04 + buzzer + LEDs for distance warning
Auto Light
LDR + relay to control lamp at sunset
Motion Alarm
PIR sensor + buzzer for intruder detection
Plant Monitor
Soil moisture + DHT22 for plant care
Sound Level Meter
Microphone module + LED bargraph
Common Sensors Reference
| Sensor | Measures | Interface |
|---|---|---|
| DHT22 | Temp + Humidity | Digital |
| BMP280 | Pressure + Temp | I2C |
| HC-SR04 | Distance | Trig/Echo |
| PIR HC-SR501 | Motion | Digital |
| MPU6050 | Accel + Gyro | I2C |
| LDR | Light | Analog |
Sensors & Arduino
Browse our sensors collection and Arduino products.
New to Arduino? Start with our Best Arduino Starter Kits 2025 guide.
Frequently Asked Questions
Can I connect multiple sensors to one Arduino board?
Yes, Arduino can handle multiple sensors simultaneously. The Uno has 14 digital pins and 6 analog pins, allowing many sensors to connect at once. Advanced sensors using I2C (DHT22, BMP180, MPU6050) share just two pins (SDA, SCL) regardless of quantity. The main limitations are available pins, power supply capacity (multiple sensors may exceed Arduino's 500mA regulator), and processing speed. Use millis() timing instead of delay() for multi-sensor coordination.
Why do my sensor readings fluctuate or seem noisy?
Sensor noise has several causes: 1) Electrical interference from motors or WiFi modules - separate sensor wiring from high-current wires, 2) Insufficient power supply causing voltage fluctuations - use external regulated power, 3) Poor connections - check breadboard contacts, 4) Environmental factors - temperature, vibration, airflow affect sensors. Solutions include software filtering (moving average, median filter), capacitors across power supply (100µF), twisted pair wiring for long connections, and reading sensors multiple times and averaging results.
What's the difference between analog and digital sensors?
Analog sensors output variable voltage (0-5V) proportional to measured quantity, read by Arduino's analog pins as 0-1023 values. Examples: LDR, potentiometer, thermistor. Digital sensors output HIGH/LOW signals or communicate via protocols (I2C, SPI, OneWire), providing processed data directly. Examples: DHT22, ultrasonic, PIR. Analog offers continuous range but requires calibration and is noise-prone. Digital provides pre-calibrated, processed data but may have lower resolution. Many sensors offer both outputs.
How do I calibrate my sensors for accurate readings?
Calibration methods vary by sensor type. For analog sensors (LDR, gas sensors): 1) Record readings in known conditions (bright/dark for LDR, clean air/gas present for MQ sensors), 2) Map raw values to real-world units using map() or custom equations. For temperature sensors: Compare to calibrated thermometer, apply offset correction in code. For ultrasonic: Measure known distances, verify calculations. Gas sensors need 24-48 hour burn-in initially. Always calibrate in the sensor's intended environment, as temperature, humidity, and altitude affect readings.
Can Arduino sensors work with Raspberry Pi or ESP32?
Yes, most Arduino sensors work with other microcontrollers with minor modifications. Key considerations: 1) Voltage levels - ESP32 is 3.3V, Arduino is 5V; use voltage dividers or level shifters for incompatible sensors, 2) Pin assignments change but wiring principles remain the same, 3) Libraries may differ but code logic is similar, 4) I2C/SPI sensors usually work directly if voltage-compatible. DHT, ultrasonic, PIR, and most common sensors have libraries for ESP32 and Raspberry Pi. Check sensor datasheets for voltage compatibility before connecting.